Beyond the Bolt: The Essential Guide to Hub Mating Surface Preparation
Don't let corrosion ruin your new wheel fitment. Learn how to properly prep your hub's mating surface and center bore for a vibration-free installation.
The Foundation of Wheel Fitment
When enthusiasts buy new wheels, they focus on offset, bolt patterns, and aesthetics. However, the most critical factor for a smooth ride isn't the wheel itself—it is the physical connection between the wheel’s mounting pad and the vehicle's hub. This area, known as the mating surface, must be perfectly flat and free of debris to ensure the wheel sits true. Even a microscopic layer of rust can cause the wheel to sit at a slight angle, leading to vibrations that no amount of balancing can fix.
Why Surface Prep is Non-Negotiable
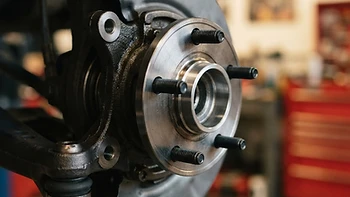
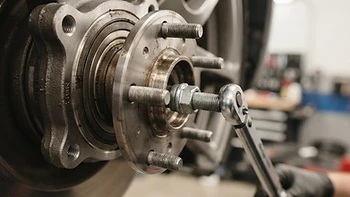
Most factory hubs are made of cast iron or steel, which naturally oxidize over time. When you remove an old wheel, you will often see a ring of rust or "scaling" around the center bore and across the face of the hub. If you mount a new aluminum wheel directly over this corrosion, the wheel cannot seat flush against the hub.
According to WheelPrice, failing to clean these surfaces can lead to "runout," where the wheel wobbles as it rotates. This doesn't just cause steering wheel shake; it puts uneven stress on your wheel studs, which are designed to handle clamping force, not lateral shear loads caused by an off-center wheel.
Step-by-Step: Prepping Your Hubs
Before sliding on your new rims or hub-centric rings, follow this preparation checklist:
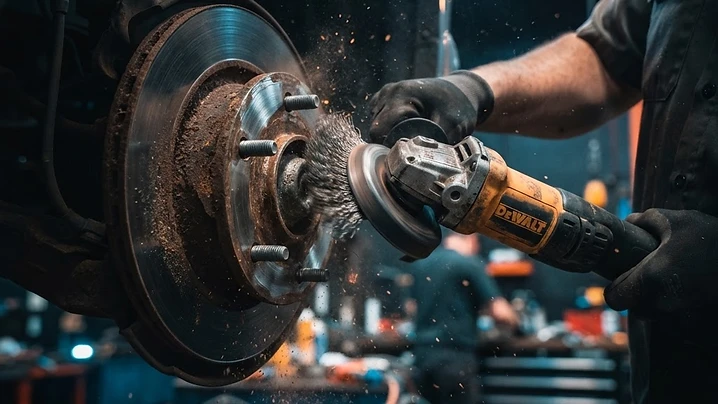
- Scrub the Face: Use a stainless steel wire brush or a drill-mounted abrasive pad to remove all surface rust from the hub face. You want to see bare, shiny metal.
- Clean the Center Pilot: The "lip" that sticks out from the center of your hub is what actually centers the wheel. Use a fine-grit sandpaper or a small wire brush to clean the circumference of this pilot so your center bore or hub ring can slide on without resistance.
- Inspect the Brake Rotor Hat: Ensure the rotor is sitting flush against the hub. Sometimes, a small retaining screw or a bit of trapped debris behind the rotor can prevent the entire assembly from being square.
- The Anti-Seize Rule: Apply a very thin film of nickel or copper anti-seize to the center pilot only. This prevents the wheel (or the hub-centric ring) from seizing to the hub due to galvanic corrosion. Never apply anti-seize to the wheel studs or the flat mating surface, as this can interfere with proper torque specs and friction-based clamping.
Checking for Interference
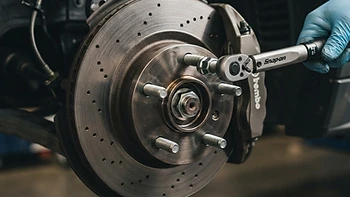
Before final torquing, do a dry fit. Some aftermarket wheels have shallow pockets on the mounting pad that may interfere with raised features on your hub, such as dust shield lips or large hub nut covers. As noted by ThreePiece.us, if the wheel doesn't sit completely flat with light finger pressure, stop and investigate the obstruction. A clean, flat mating surface is the only way to guarantee your high-end wheels perform as well as they look.
Find wheels for your car
Pick your make and model — we'll show you every wheel that fits your bolt pattern.
Get notified when new wheels are listed
New listings drop daily. Be the first to know when wheels for your car hit the marketplace. No spam, unsubscribe anytime.