The 'Dry Fit' Protocol: Why You Must Test Fit Wheels Before Mounting Tires
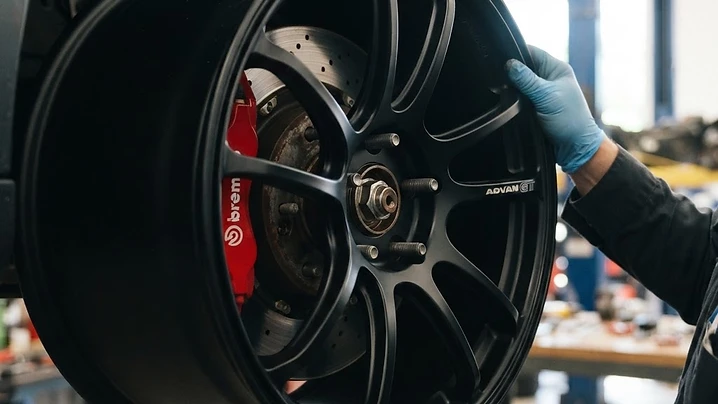
Avoid the expensive 'no-return' trap by mastering the pre-mount test fit. Learn how to verify brake clearance and suspension gaps before you commit to tires.
Shop rims
Browse all available wheels
Shop this article
Browse all rims


The Point of No Return
In the world of online wheel shopping, there is one golden rule that separates seasoned enthusiasts from frustrated buyers: Never mount a tire until you have test-fitted the bare rim.
Most aftermarket wheel retailers have a strict return policy. Once a tire is mounted, the wheel is considered 'used.' If you discover a fitment issue after the beads have seated, you are likely stuck with a set of expensive paperweights. Even if the bolt pattern and offset look perfect on paper, real-world variables like brake caliper shape or suspension geometry can create unexpected interference.
Why Specs Aren't Enough
Calculators and fitment guides are excellent starting points, but they don't account for every variable.
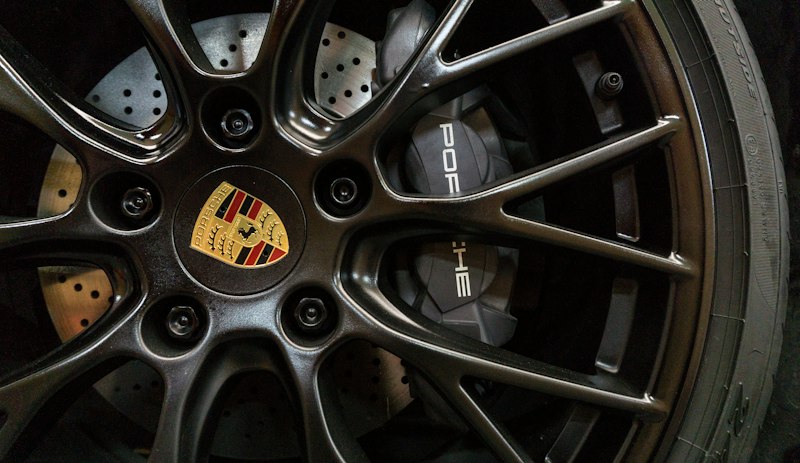
- Caliper Profiles: Two wheels with the same 'X-factor' (spoke clearance) might fit differently because one has a thicker spoke base that hits the corner of a performance brake caliper.
- Suspension Sag: On older vehicles, worn bushings or aftermarket coilovers can shift the hub position slightly, leading to rubbing that a standard fitment chart wouldn't predict.
- Manufacturing Tolerances: While rare, slight deviations in the machining of the center bore or mounting pad can prevent a flush fit.
The Step-by-Step Dry Fit Checklist
Before you head to the tire shop, perform this 10-minute check on both the front and rear axles.
- Clean the Hub: Use a wire brush to remove rust or debris from the vehicle's mounting surface. A flat mating surface is critical for an accurate test.
- Protect the Finish: Apply a layer of painter's tape to the outer lip of the wheel. This prevents 'spider web' scratches if the wheel accidentally tips or touches the floor.
- Hand-Tighten Only: Place the wheel on the hub and start three lug nuts by hand. Do not use an impact wrench. Snug them down just enough to hold the wheel flat against the rotor.
- The 360-Degree Spin: With the car in neutral (and safely on jack stands), slowly rotate the wheel. Listen for any clicking or scraping against the brake calipers or dust shields.
- Check the 'Gap': Ensure there is at least 3mm of clearance between the wheel spokes and the brakes.
- Steering Lock Test: For front wheels, turn the steering wheel from full lock-to-lock. Check the inner barrel clearance against the tie rods and control arms.
Actionable Pro-Tips
- Check the Center Bore: If the wheel doesn't slide effortlessly onto the hub, do not force it. You may have a hub-centric mismatch or need a specific centering ring.
- Verify Lug Seat: Ensure your current lug nuts match the new wheel's seat type (conical vs. ball). Using the wrong seat will prevent the wheel from centering, even if the bolt pattern is correct.
- Document Everything: If you find a clearance issue, take clear photos of the contact point. This evidence is vital for processing a return or exchange with the seller.
Find wheels for your car
Pick your make and model — we'll show you every wheel that fits your bolt pattern.
Get notified when new wheels are listed
New listings drop daily. Be the first to know when wheels for your car hit the marketplace. No spam, unsubscribe anytime.